

How to Install a New Oven or Stove
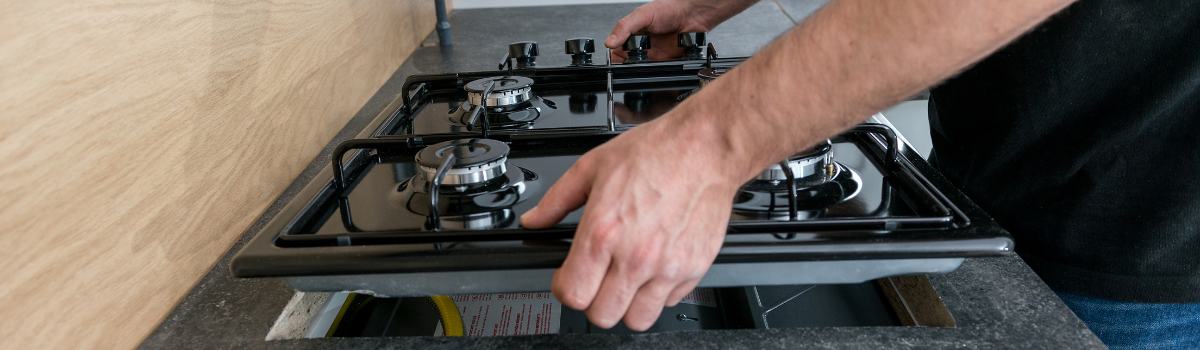
Step-by-Step Guide: How to Install a New Oven or Stove Safely and Easily
Installing a new oven or stove is essential to setting up a safe and efficient kitchen. Whether replacing an old appliance or getting one for the first time, installing it correctly will help it work properly and prevent potential dangers like gas leaks,electrical problems, and common oven problems.
Before starting, it’s important to know what kind of stove you have electric or gas. Electric stoves require a special electrical outlet with enough power, while gas stoves need a properly connected and sealed gas line. Good ventilation is also key to keeping the air in your kitchen safe and clean.
While some people might feel comfortable installing a stove on their own, there are times when calling a professional is the safest option. If your installation requires electrical work, gas line changes, or major kitchen modifications, hiring an expert can save you time and ensure everything meets safety rules.
Pre-Installation Checklist
To make sure the installation goes smoothly, it’s important to prepare ahead of time. Missing a step could lead to problems that might require professional help later. Here’s what to check before getting started:
- Measure Your Space: Use a measuring tape to ensure your new stove fits in the available space. Make sure there’s enough room around it for ventilation.
- Check Your Connections: Find out if your kitchen is set up for an electric or gas stove. If you’re switching from one type to another, you may need to make adjustments.
- Confirm the Power Supply: Electric stoves need a 220V outlet. If your kitchen doesn’t have one, an electrician must install the correct wiring.
- Inspect the Gas Line: If you’re installing a gas stove, make sure the gas line is in good condition, has no leaks, and has the correct fittings.
- Review Local Safety Codes: Different areas have rules about stove installations. Check what applies in your location to avoid fines or safety risks.
- Check Ventilation: Gas stoves need good ventilation to prevent carbon monoxide buildup, and electric stoves need enough space to release heat safely.
Tools and Materials Needed
Having the right tools before starting will make the installation process easier and help prevent delays. Here’s what you’ll need:
Basic Tools
- Phillips and flathead screwdrivers
- Adjustable wrench
- Utility knife
- Measuring tape
- Drill (for securing anti-tip brackets)
- Level (to make sure the stove is even)
Safety Gear
- Work gloves (to protect your hands)
- Safety glasses
- Fire extinguisher
- Gas leak detector or soapy water solution
Electrical Needs
- Circuit tester (to check if the power is off)
- Power cord (for electric stoves, either 3-prong or 4-prong based on your outlet)
Gas Stove Parts
- Flexible gas line
- Pipe joint compound (to seal gas connections)
- Gas shutoff valve (if installing a new gas line)
Safety precautions before installation
Safety should always come first when working with gas or electricity. Follow these steps to avoid accidents:
- Turn Off the Power and Gas Supply: Shut off the circuit breaker for electric stoves. Turn off the main gas supply for gas stoves before removing the old stove.
- Check for Gas Leaks: If replacing a gas stove, apply soapy water to the gas line connection. If bubbles form, a leak needs to be fixed before moving forward.
- Ensure Proper Ventilation: Keep windows open or use an exhaust fan to prevent gas buildup in the kitchen.
- Install Smoke and Carbon Monoxide Detectors: These detectors add an extra layer of safety and should be tested regularly.
Step-by-Step Installation Guide
Installing an Electric Stove
- Position the Stove: Slide the stove into place, ensuring it is level and fits properly in the space.
- Connect the Power Cord: Depending on the outlet, attach a 3-prong or 4-prong plug. Secure all connections before turning the power back on.
- Secure the Stove: Attach anti-tip brackets as the manufacturer recommends to prevent the stove from tipping forward.
- Test the Connection: Turn the power back on and check that all burners and oven functions work properly.
Installing a Gas Stove
- Position the Stove: Place the appliance near the gas hookup and ensure it is level.
- Connect the Gas Line: Attach the flexible gas hose and apply a gas-rated pipe joint compound to create a tight seal.
- Check for Leaks: Turn the gas supply on and use a soapy water solution on the connections. If bubbles appear, tighten the fittings and check again.
- Ignition Testing: Turn on the burners to confirm they ignite properly. A steady blue flame means the gas is burning correctly. If the flame is yellow, there may be a problem with the gas flow.
Installing a Wood-Burning Stove (If Applicable)
- Choose the Right Location: Keep the stove safe from walls and other objects.
- Install the Venting System: Follow the manufacturer’s instructions to set up the chimney or flue.
- Follow Fire Safety Rules: Keep flammable materials away from the stove and have a fire extinguisher nearby.
Post-Installation Checks
After installation, go through these final checks to make sure everything is working correctly:
- Test the Burners and Oven: Ensure all functions operate as expected.
- Look for Gas Smells or Leaks: If you detect a gas smell, turn off the supply immediately and check all connections.
- Check for Stability: The stove should sit firmly in place without wobbling or tilting.
Maintenance and Troubleshooting Tips
- Electric Stove Maintenance: Clean burners regularly, check wiring, and avoid overloading circuits.
- Gas Stove Safety: Inspect gas connections regularly and clean burners to keep the flame working properly.
- Troubleshooting: If the stove doesn’t turn on, check the power source, gas supply, and circuit breakers.
Conclusion
Installing a new stove or oven can improve your kitchen’s functionality, but it’s important to do it safely. By following these steps, you can complete the installation correctly. Calling a professional is the safest choice if you’re ever unsure about any part of the process. Lastly, don’t forget to register your new appliance for warranty coverage and maintenance support.

LET’S CONNECT
(905) 412-2777
service@electrafixgta.ca
OPEN HOURS
Mon-Fri: 9AM-9PM
Saturday: 10AM-9PM
Sunday: 10AM-9PM
QUICK LINKS:
LET’S CONNECT
(905) 412-2777
service@electrafixgta.ca
OPEN HOURS
Mon-Fri: 11AM-9PM
Saturday: 10AM-9PM
Sunday: 10AM-9PM
QUICK LINKS:
© 2025 ElectraFix GTA Appliance Repair All Rights Reserved | Privacy Policy | Sitemap