

How to Install a Dishwasher Yourself Step by Step
DIY dishwasher installation is generally straightforward. If you purchase a new dishwasher, the price might include installation. If not, learning how to install a dishwasher may save you money.
The instructions described below will ensure a successful dishwasher installation. From shutting off the power and water supply to connecting electrical wiring, this step-by-step installation guide will cover all the necessary steps to get your dishwasher up and running.
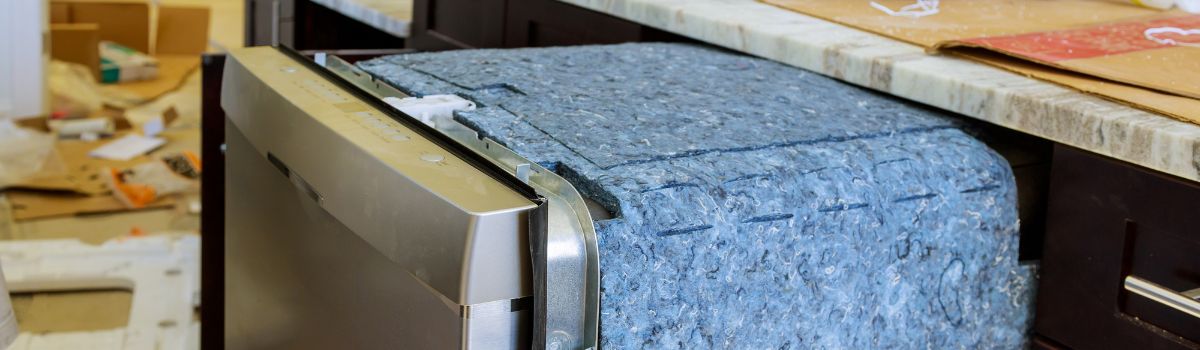
Tools Required for Installing a Dishwasher
Having the right tools is crucial when you’re ready to install a dishwasher. The tools required to install a dishwasher include screwdrivers, adjustable wrenches, and pliers. You’ll also need a level, a tubing cutter, a tape measure, and a voltage tester. A bucket handy to catch any water will be helpful when disconnecting pipes.
Knowing the required tools simplifies the installation process, making it easier to follow each step. The installation can be smooth and uninterrupted if you have all the tools. Familiarize yourself with the items and tools before you start, and you’ll be on your way to a successful dishwasher installation.
Materials Required for Installing a Dishwasher
Before you start, gather all the necessary materials for installing a dishwasher. Having all materials at hand simplifies the installation process. You’ll need a new dishwasher supply hose because using an old hose can lead to leaks. Ensure you have Teflon tape to seal joints and prevent leaks during installation. You might also need wire nuts to secure electrical connections.
Additionally, have a power drill, screwdrivers, and a wrench set as part of your toolkit. Proper installation also requires a plumber’s putty, which helps seal around the sink drain. Remember that each material’s quality affects your dishwasher’s long-term performance and maintenance. Adequate preparation will streamline each of the following steps in your project. Double-check that you have the materials required before installing your new dishwasher.
Pre-Installation Preparations for Installing a Dishwasher
You can successfully install a dishwasher with the right tools, some basic skills, and step-by-step guidance. Following proper installation procedures will help your dishwashers operate efficiently and safely. Remember, the user manual should always be your primary reference.
Removing the Old Dishwasher
Before beginning any work, disconnect the power supply to the home area. Likewise, you should shut off the water supply. Shutting off both power and water is mainly for safety and practicality. Live wires can pose a severe hazard, leading to electrocution. Similarly, leaving the water supply on could result in a messy and potentially damaging spill when you move and remove the old dishwasher. Wear gloves and safety glasses to protect against accidental shocks or splashes. Remember, safety should always be your priority when undertaking such tasks.
Connecting Water Supply and Drainage
Before you install your new dishwasher, it’s essential to clean the installation area thoroughly. Remove any debris or obstacles, as this preparatory step is crucial. Over time, the space under or around a dishwasher can accumulate dust, debris, or even leaks from the old appliance. This residue may impede the installation of the new dishwasher and potentially damage it. Sharp fragments could puncture hoses, and water or other liquid spillages could create a corrosive environment for metal components. Additionally, excess debris might restrict airflow or cause unwanted noise during operation.
Thoroughly clean the area. Assess the condition of the flooring, cables, and plumbing and promptly repair any damage before proceeding. Ensure the floor is level, and immediately address any unevenness to prevent operational issues. Meticulous preparation is paramount for successfully connecting the water supply, drain, and other components. Prioritize proper drainage and the correct connection of the water supply for a smooth installation. Lastly, verify that the sink and plumbing are in optimal condition for peak performance.
Connecting Electrical Wiring
Now comes the most important part of the process, but don’t worry; you can easily pull through with these simple steps. Slide the dishwasher into the designated space carefully, not disturbing the connected hoses. Adjust the appliance’s height using the leveling legs on the dishwasher’s bottom if needed. Check that the dishwasher is level, both side-to-side and front-to-back. Use shims if needed. Secure the dishwasher to the underside of the countertop using brackets and screws.
Now comes a crucial step: connecting electrical wiring. Make sure the power’s off before you start. Locate the junction box for your dishwasher and open it using a screwdriver. Inside, you’ll find the electrical wires that need to be connected. Use a wire stripper to remove about 1/2 inch of insulation from each electric wire. Connect the house wires to the dishwasher wires, matching color to color. Secure the connections with wire nuts, then gently fold the wires back into the junction box. Close the junction box cover and make sure everything is tight and secure. Your electric setup is now correctly installed, ensuring your dishwasher’s ready for action. Don’t forget to turn the power back on!
Testing and Troubleshooting the Installed Dishwasher
Although seemingly intimidating, connecting electrical wiring is a straightforward task that individuals with basic electrical knowledge can confidently accomplish by adhering to precise instructions. The installation process necessitates meticulous attention and careful handling. The manufacturer’s clear instructions and color-coded wiring facilitate the smooth connection of the dishwasher’s electrical components to the power supply, making this task readily manageable for conscientious do-it-yourself homeowners.
You’ll need to join the black wire to black (live), the white wire to white (neutral), and the green or bare wire to the ground. Use wire nuts to secure each connection. Once connected, carefully tuck the electrical cord back into the junction box and secure the cover. Remember, working with electrical connections can be dangerous. If you’re unsure, hiring a licensed electrician to handle this part of the installation is safer. Once everything’s in place, continue testing and troubleshooting the installed dishwasher to ensure it works correctly. Following these steps will help ensure your new dishwasher installation is safe and functional.
Final Steps and Clean-up
After installation, running a test cycle of your newly installed dishwasher is crucial to ensure everything is set up correctly. The importance of these final steps can’t be overstated, as they help identify potential leaks or drainage problems before they escalate. First, restore the power and water supply, then give the dishwasher a go. Keep an eye out for any leaks, strange noises, or improper draining. Spotting issues early means they often have simple solutions.
The final steps guarantee that the dishwasher door opens smoothly without hitting cabinetry or obstacles. Any problems can be quickly dealt with by referring to the repair section in the appliance’s manual or seeking professional help. Completing this clean-up phase will ensure that your dishes come out sparkling clean. These final steps assure you that your dishwasher is running as expected. By promptly addressing any issues, you effectively prevent more severe problems in the future.

LET’S CONNECT
(905) 412-2777
service@electrafixgta.ca
OPEN HOURS
Mon-Fri: 9AM-9PM
Saturday: 10AM-9PM
Sunday: 10AM-9PM
QUICK LINKS:
LET’S CONNECT
(905) 412-2777
service@electrafixgta.ca
OPEN HOURS
Mon-Fri: 11AM-9PM
Saturday: 10AM-9PM
Sunday: 10AM-9PM
QUICK LINKS:
© 2025 ElectraFix GTA Appliance Repair All Rights Reserved | Privacy Policy | Sitemap